A quick guide on Instantiating and Destroying Game Objects in C# and Unity
To support dynamic and performant games where different objects can come and go, there will be a time when you will need to create and destroy game objects through code.
Creating GameObjects through Code
First, to create a game object, you’ll need:
- A prefab of the object to be created
- A reference to that prefab on the script that will create the object
- A call to create an instance of the object from the prefab
Creating a prefab
In Unity, a prefab is a template for a game object.

To create one, first add the desired game object to your scene view. If there are any components you want to add or details to change about your object, you can do that now or later. Next, add a new folder to your project called “Prefabs”. Then, drag your object from the scene view to the Prefabs folder. This will create the prefab or template for making copies of this object in the future. Once you create a prefab, the object’s icon in the Hierarchy will turn into a blue cube to indicate it is a prefab.
Referencing a prefab
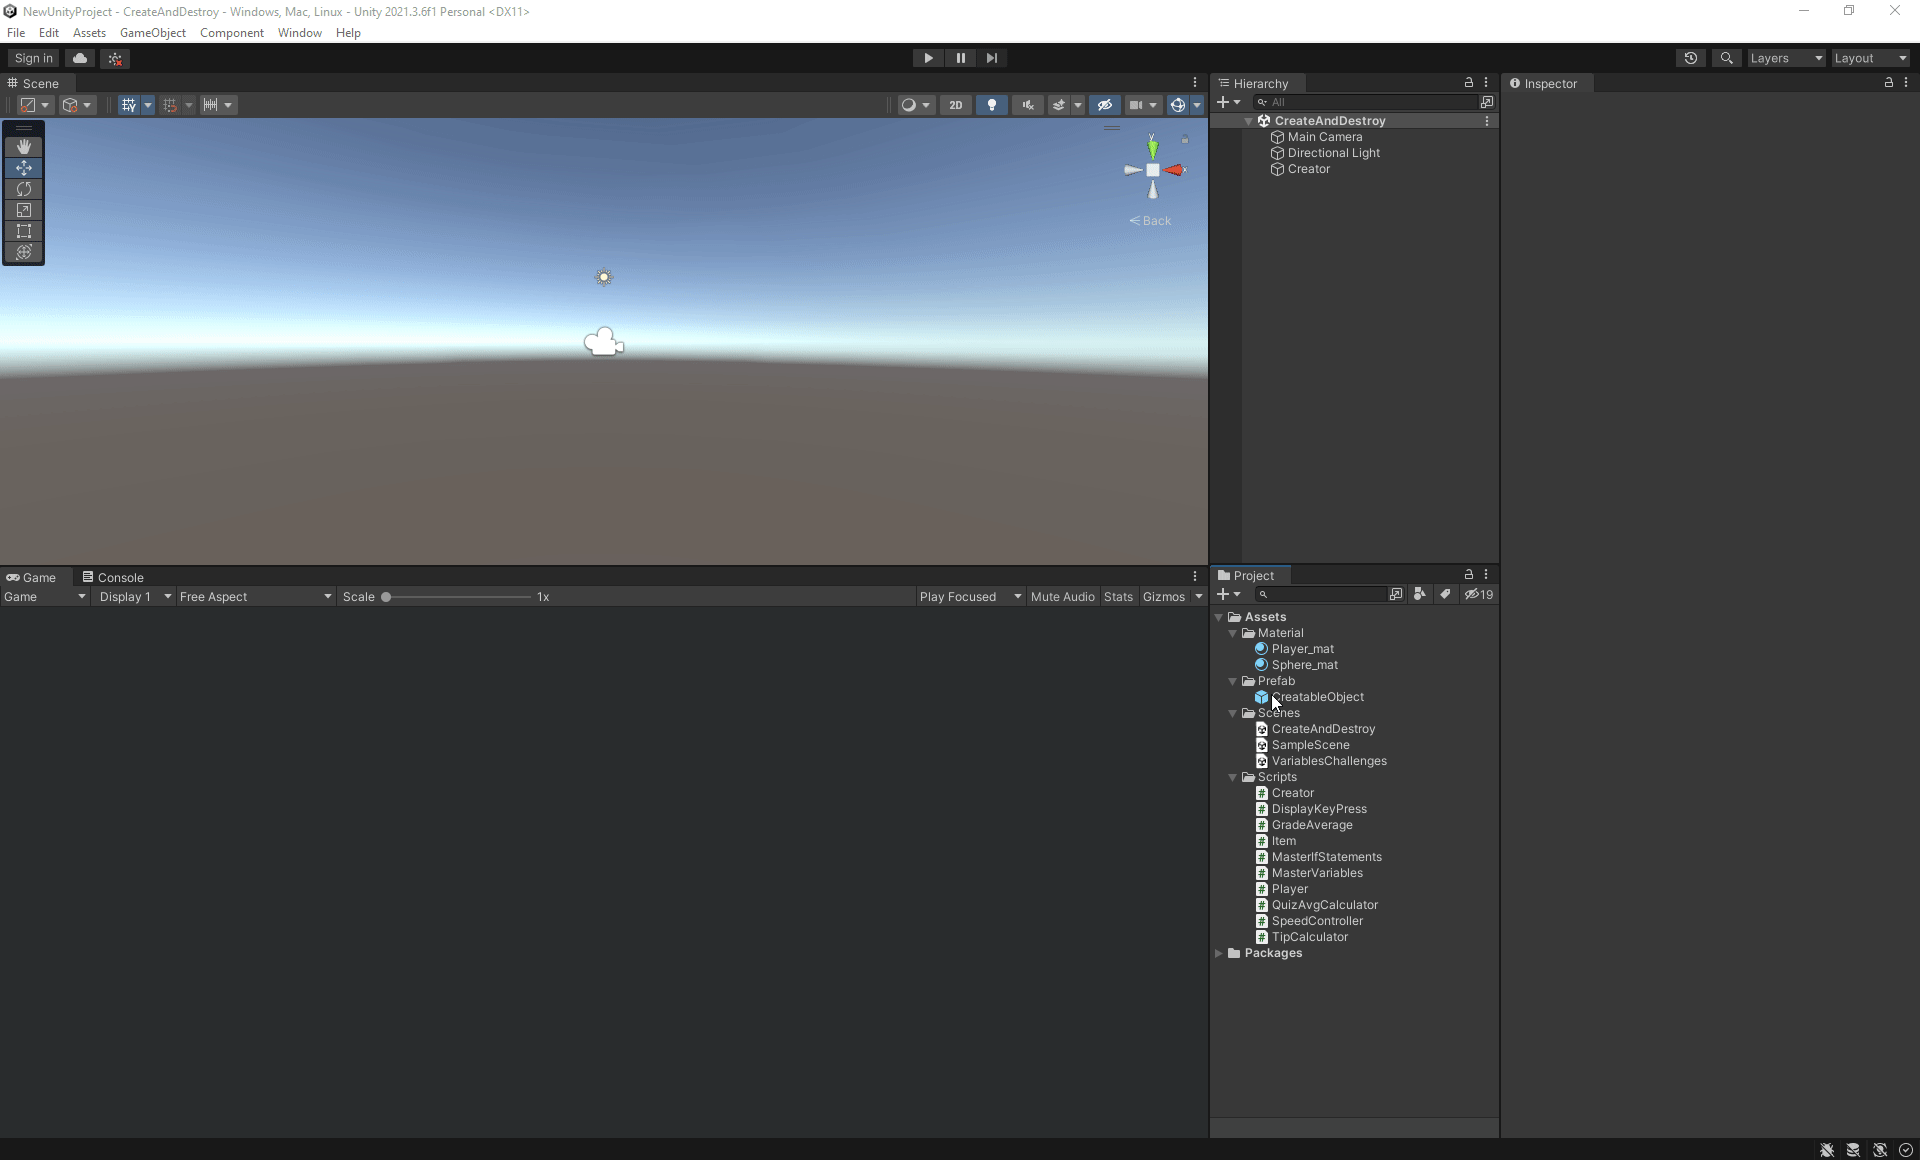
First, we’ll need an object with an attached script that will create the prefab. For this example, I’ve created an empty game object called “Creator” and attached a blank C# script with the same name.

Within that object’s script, create a GameObject variable to store a reference to the prefab. Be sure to precede it with the SerializeField attribute, so we can assign the prefab through Inspector in Unity.

Return to the Unity Editor and select the object in your Scene view that will create the prefab object. Then, from the Project view, drag and drop the prefab to the variable you just created. Now, your creator object has a reference to the prefab.
Creating an instance of the prefab

Returning to the script on creator object, we can use the Instantiate method in Unity to create a copy or “instance” of the prefab object.

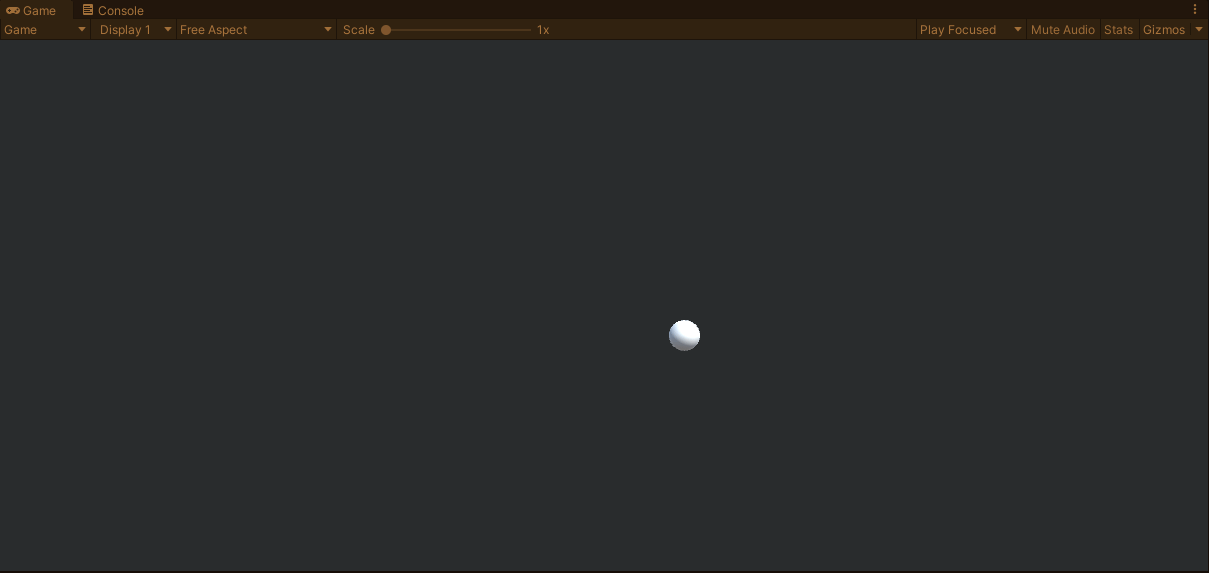
Back in Unity Editor, if we run this code (briefly), we will see a copy of the prefab appear in the Game view. Since this was added to the Update method, a new copy of the object is added to the same position in the Scene approximately 60 times per second, which we can see in the Hierarchy view.
To clean this up for the example, I am going to randomize the position where each instance is created as well as the time between instantiations. To see that code, check out the Gist here.
Destroying GameObjects through Code
Destroying game objects is much easier than creating them (isn’t that always the way?) To do this, you’ll need:
- A script on your prefab
- A call to Destroy this game object associate to the script
Adding a script to the prefab
In the Unity Editor, right-click in the Project view and select Create > C# Script. Change the script name to match your prefab. Then, select the prefab in the Project view (not in the Hierarchy, if you have an instance in the scene currently), and drag and drop the new script to add it to the prefab. This change will affect all future instances.
Destroying an instance of a prefab
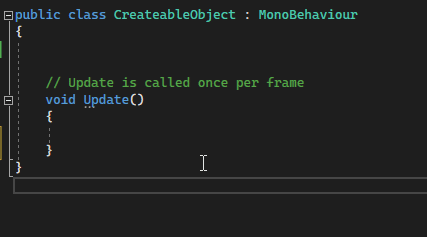
Within the Update method of the new script, we can use the Destroy method in Unity to destroy an object or component. To ensure we destroy the full game object the script is attached to, we can use this.gameObject as an argument in the Destroy method. Optionally, you can also pass in a time in seconds that the program should wait before destroying the object.
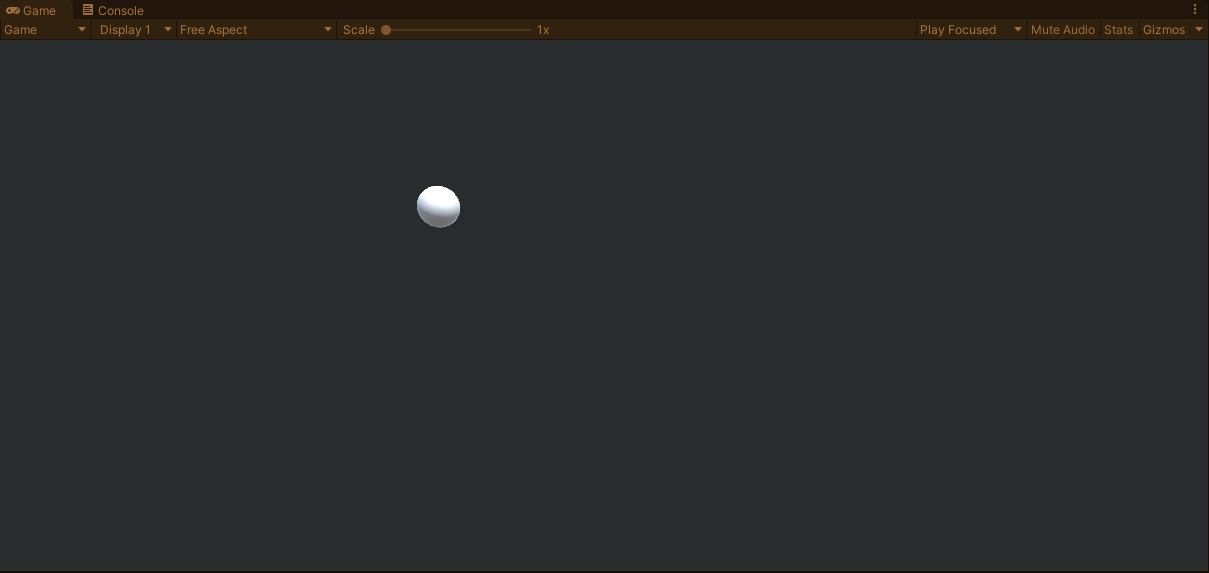
To finish up the example, I randomized the wait time before each object is destroy (see full code here). If the power to create and destroy in Unity can make a pretty nice screensaver like this, just imagine what else it can do for you and your project.